Neil's 2000 Monte Carlo SS Pace Car, 1995 Z-28, and 1967 Impala
Camaro Mods
Neil's 2000 Monte Carlo SS Pace Car, 1995 Z-28, and 1967 Impala
Camaro Mods
| |||||
|
This page is just for mods on my Z28.
| ||||
|
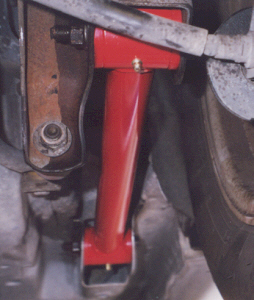
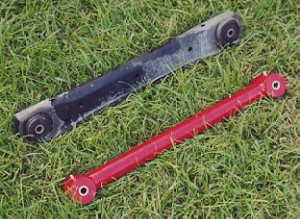
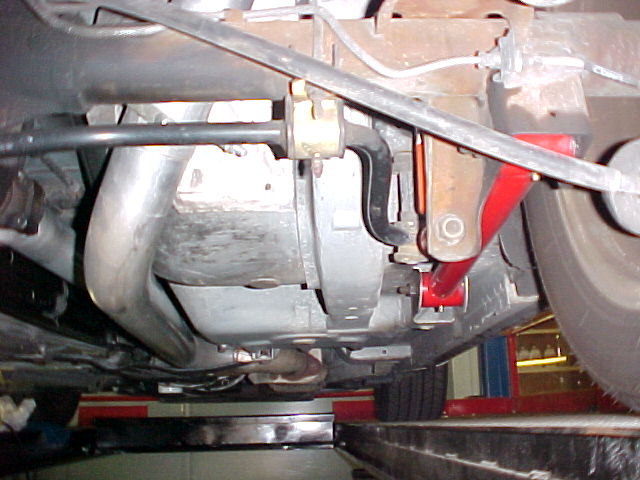
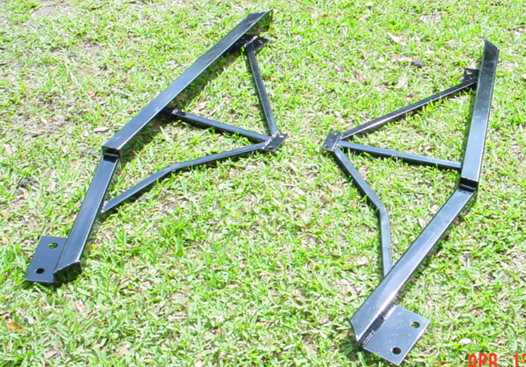
Granatelli Trailing Arms. This mod is completely simple to do. Just 4 bolts and you are done. The improvement was great when coming hard out of corners. The picture on the left is of the stock arm compared with the Granatelli. 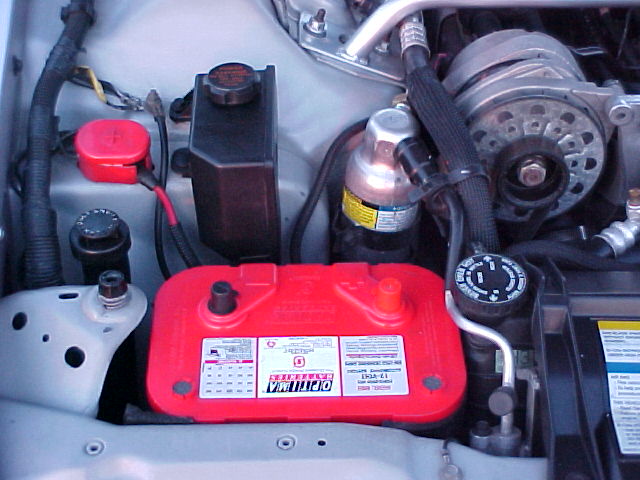 The Optima 'Red-Top' battery is great if you are like me and leave the key in the on position a lot (my alarm has a passive feature and this prevents it from setting). They are pretty tough to kill and will start your vehicle with barely any charge. It was a tight fit because it is bigger than the stock battery, but I got it in there and it looks good, too! 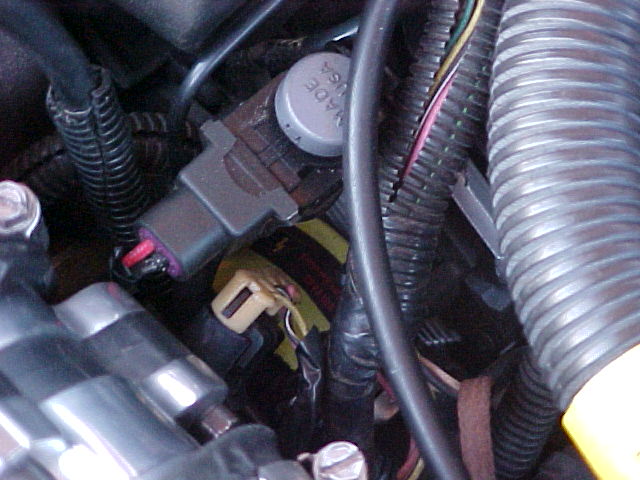 Way down inside there you can see the yellow from the Accel coil. The post on my stock coil was corroded pretty bad, so I decided to go with an Accel coil for a replacement. I chose this for a couple of reasons. One was that people were having trouble with the MSD coils, and another was because I already had Accel wires. To do this you need to remove the 2 rivets that hold the stock coil to the bracket and install the new coil with small nuts and bolts (mine were supplied with the coil). 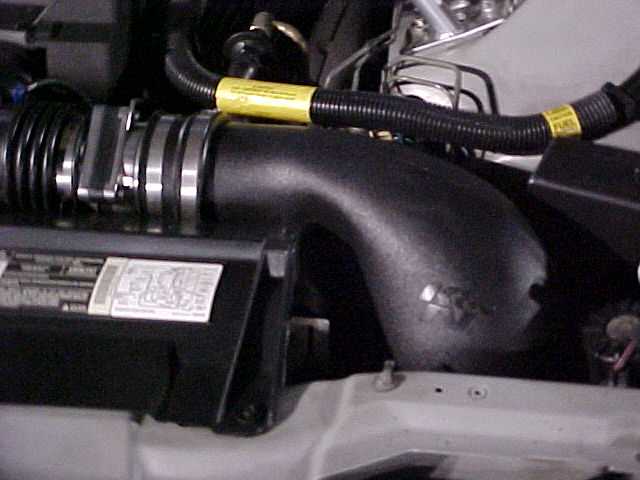 This K&N "Fuel Injection Performance Kit" cold air induction unit replaces the restrictive factory airbox assembly. 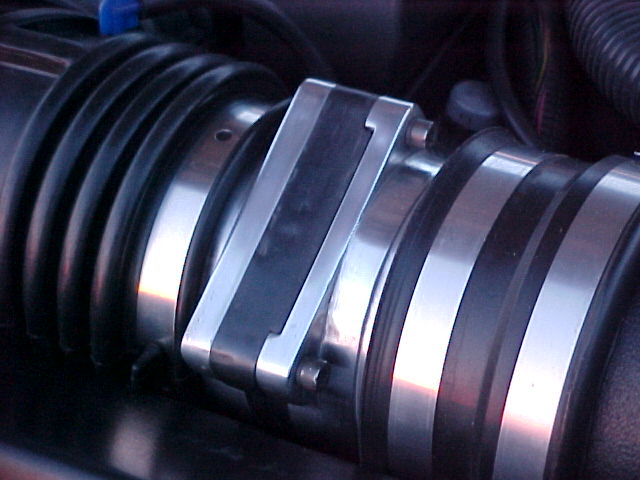 I removed the controversial honeycomb screen from my MAF ends and polished the inside without cutting out the veins. I was going to order some aftermarket ends, but when I contacted FASTCHIPS they told me to keep my stock ones on there for use with their programming when I get it. I thought they looked awful, so I pulled them off and polished the outside of them for a cleaner look. Looks much better now! 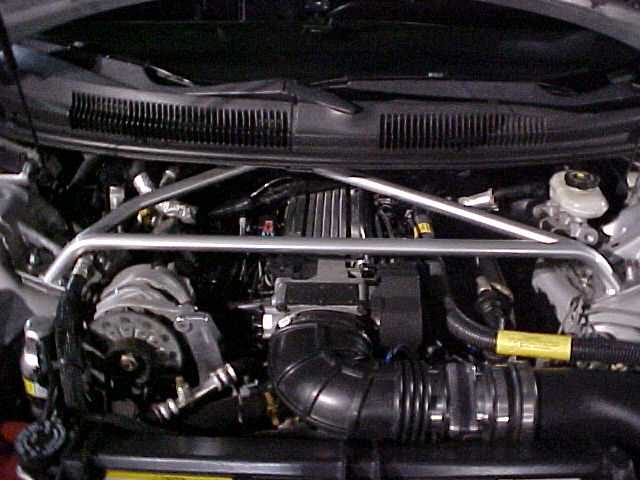
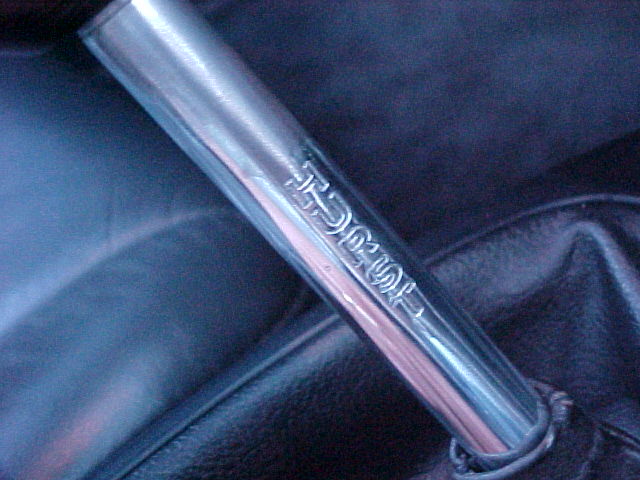
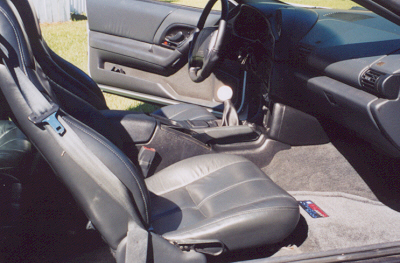
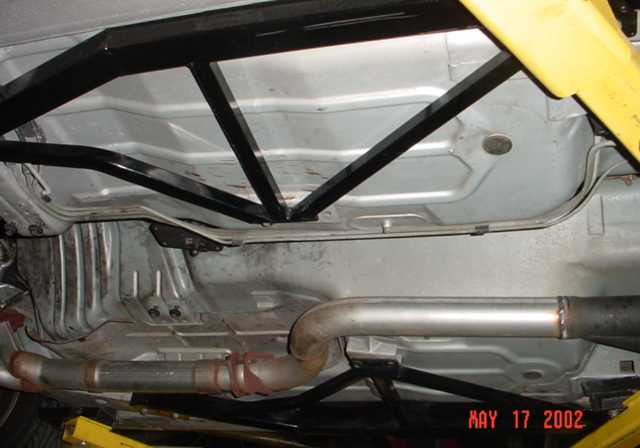
On the left is the lever on my Hurst before I shortened it. The bottom of the shift knob is now at the top of the 'H', and is white. You can see the finished product to the right and below. 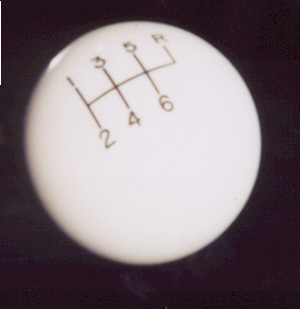 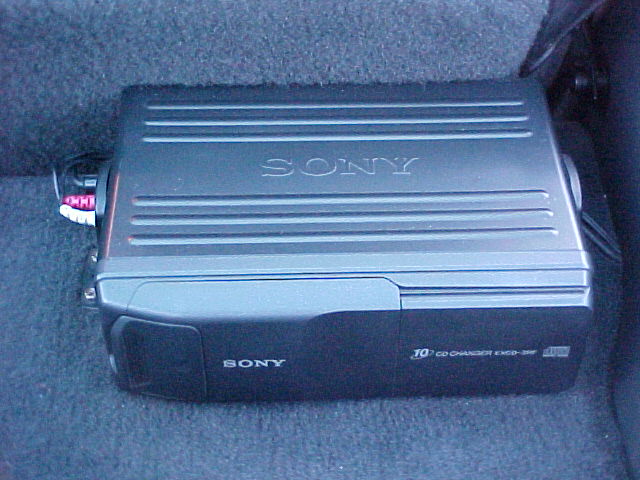 The factory Delco-Bose stereo that came in the car was only equipped with a casette player, so the original owner went through the trouble of installing a Sony 10-disc CD changer on the rear deck. With my collection of over 300 CD's, I don't know what I would do without it! 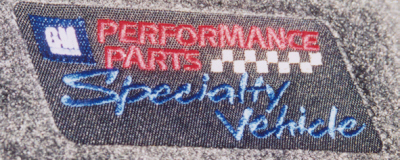 This is the embroidery on my floor mats. 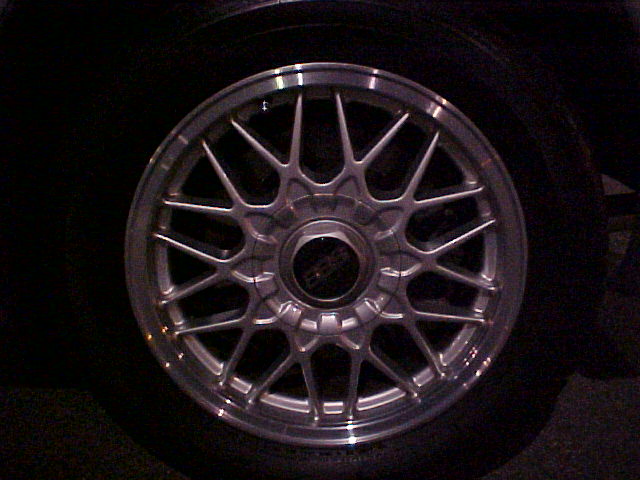 I love these BBS RZ II wheels! These were also on the car when I bought it. I really was unsure of them at first, but I really like the way they look now, and it breaks up the monotony of chrome 5-stars on F-bodies! The worst part about them is the amount of break dust they collect! I clean them almost every other day to keep them looking okay. 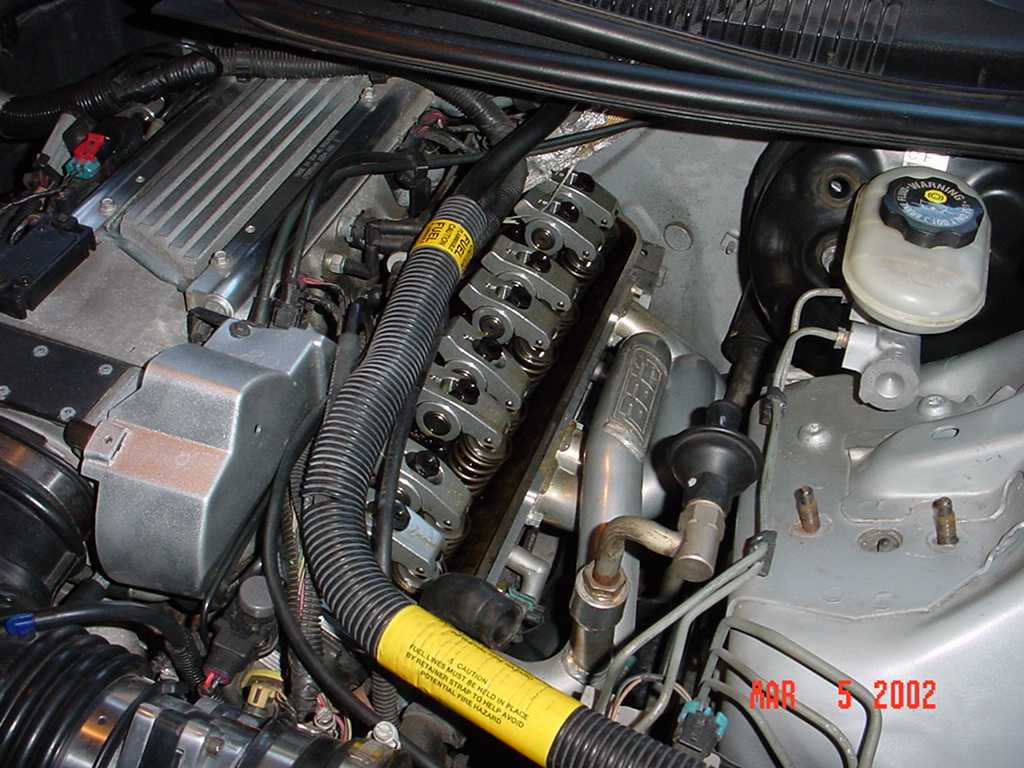 This picture was taken during installation of my GM Performance Parts 1.6 roller rockers and the IRS 'Terminator' series dual valve springs, retainers, and seats. While I was there I also put in new GM valve seals and keyes. 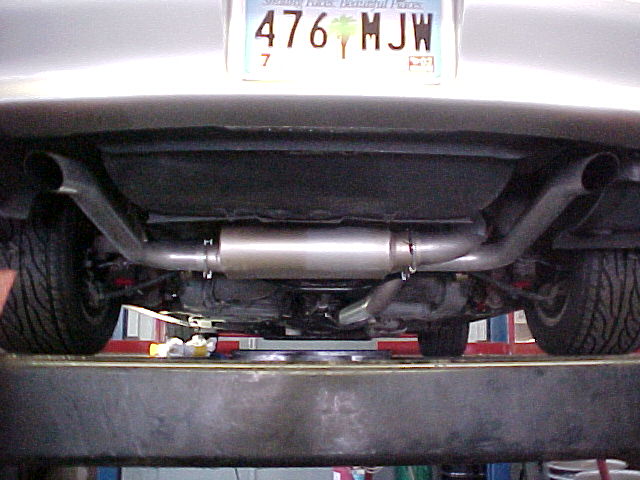 This is my Flowmaster American Thunder cat-back exhaust system. I really could not get much better of a pic than this, but this should do!
| ||||
|
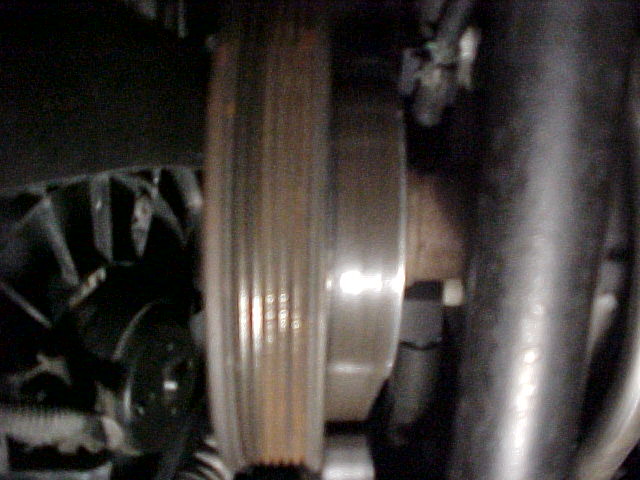 Here is a good shot to show the difference between the size of the underdrive pulley and the stock pulley. The underdrive pulley was already on the car when I bought it, and the stock pulley was in a box along with the directions for the U/D pulley. I never thought anything of it until one day I picked up the directions and read them. The stock pulley goes on with the U/D pulley as a dampner! This is why the stock pulley looks rusty, because it sat for a while and has surface rust on it. This page will be continuously updated as I do more mods and take pics of the ones I already have, so please check back every so often. | ||||